

How to Prepare Pitza at Home Better Than Ordering Takeout
People of all ages appreciate the popular dish pitza. Homemade pitza is a fantastic substitute for takeout for a filling weeknight meal or an enjoyable weekend culinary endeavour. It lets you regulate the quality of your crust, sauce, and toppings in addition to letting you add your favourite ingredients.
We’ll show you how to make pitza at home step-by-step in this tutorial. Everything you need to know will be covered, from making the proper pitza crust to choosing the best cheese and baking it at the right temperature. We’ll also give you some delectable homemade pitza recipes to try!
Why Make Your Own Pitza?
There are several reasons to make your own pitza instead of using one from the supermarket or a restaurant. When you make pitza at home, you can:
- Manage the ingredients: Make your dish healthier by using high-quality, fresh ingredients.
- Personalise the flavours: Try a variety of crusts, cheeses, sauces, and toppings.
- Have fun when preparing food: A fun pastime for the whole family is making pitza from scratch.
- Conserve funds: Making your own pitza is frequently less expensive than dining out.
Let’s get started on creating the greatest homemade pitza now!
First Step: Create the Ideal Pitza Crust
The crust is the cornerstone of any superb pitza. With regard to pitza dough, you have a few choices:
- Store-bought dough: A practical choice for people who are pressed for time.
- Pre-baked crusts: Pitza bases that are ready to use are available from companies like Boboli.
- Other bases: You may make quick pitza crusts with English muffins, pita bread, or flatbreads.
- The greatest choice for controlling flavour and texture is homemade pitza dough.
Recipe for Homemade Pitza Dough
You’ll need the following to prepare traditional pitza dough:
- Three-sixths cup all-purpose flour
- One package (2 ¼ tablespoons) instant yeast
- One teaspoon of salt
- There are 1.5 cups of warm water.
- One tablespoon of olive oil
Directions: Put the flour, yeast, and salt in a mixing dish.
- Stir in olive oil and warm water until a dough forms.
- Knead the dough for 5 to 7 minutes on a surface sprinkled with flour.
- The dough should rise for approximately an hour after being placed in an oiled basin and covered.
- Punch down the dough when it has risen, then roll it out to the thickness you want.
The secret to getting that crispy, chewy texture that rivals your favourite restaurant pitza is a well-made pitza crust.
Selecting the Proper Pitza Sauce in Step Two
Pitza sauce gives your homemade dish a strong flavour boost. Although traditional tomato sauce is a common choice, there are numerous alternatives:
- Traditional red sauce: A straightforward mixture of olive oil, crushed tomatoes, garlic, and oregano.
- A fresh and herbaceous substitute is pesto sauce, which is made with parmesan, pine nuts, garlic, and basil.
- White sauce: Alfredo sauce, ricotta, or bechamel used to make a creamy base.
- Garlic and olive oil make a simple yet delicious sauce that goes well with Mediterranean-style pitzas.
To prevent soggy or dry areas, be careful to uniformly distribute the sauce, whichever you decide, over the crust.
Choosing Pitza Toppings in Step Three
Customising your toppings is one of the best things about creating pitza at home. Even though traditional choices like pepperoni and mushrooms are always delectable, don’t be scared to experiment.
Common toppings for pitzas:
- Meats: bacon, prosciutto, grilled chicken, sausage and pepperoni
- Vegetables include spinach, cherry tomatoes, bell peppers, onions, mushrooms, and olives.
- Fruits: figs, apples, and pineapple
- Herbs and Nuts: Basil, rocket and walnuts
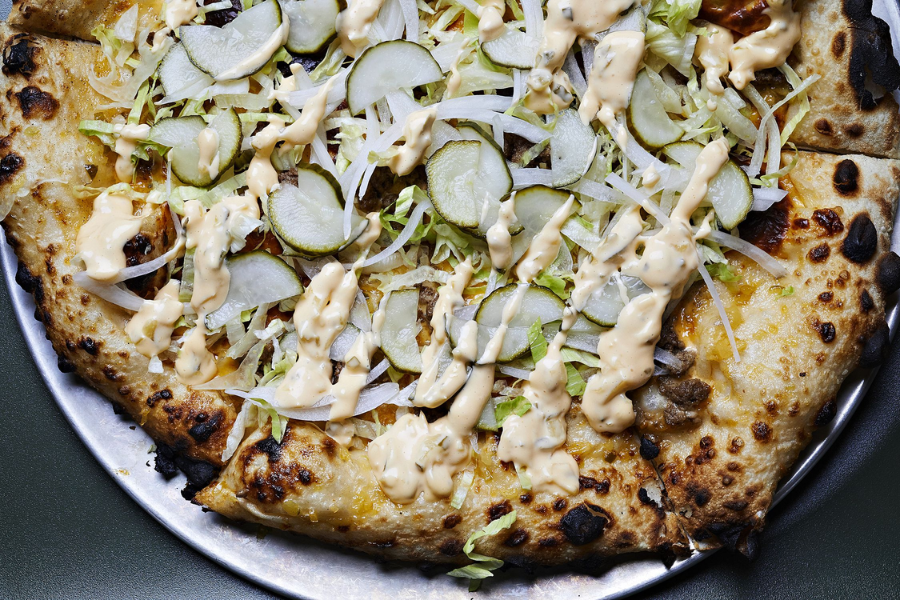
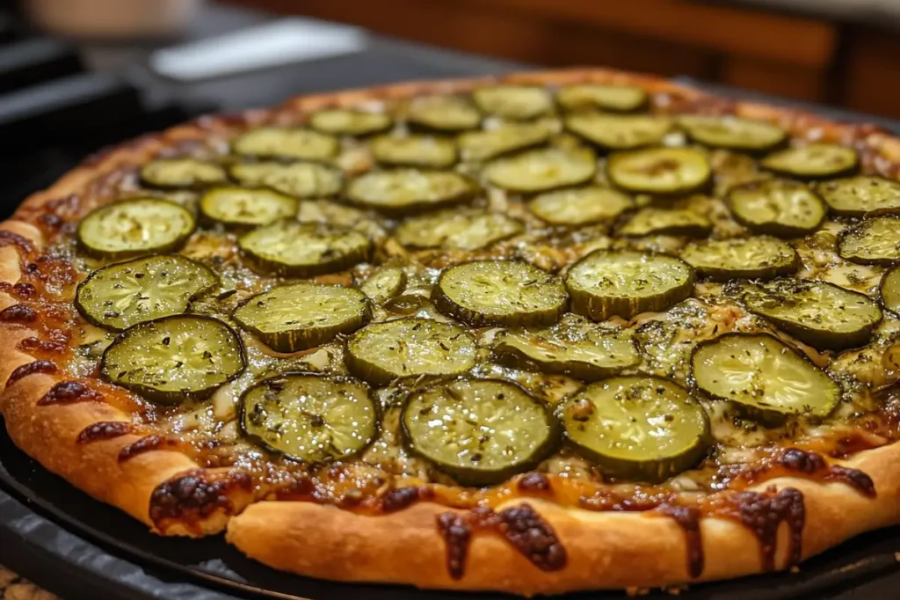
- Special Additions: truffle oil, pickles, fried eggs and corn
Pitza toppings in many places of the world are much more than just cheese and pepperoni. Mayo-based condiments and sweet corn are popular in Japan. Green peas and catupiry cheese are common ingredients in Brazilian pitzas. There are countless options!
Step 4: Proper Pitza Layering
The way you arrange the components for your pitza can make or ruin the outcome. The best method is as follows:
- First, the sauce: Cover the crust with an equal coating, leaving a thin edge.
- Put cheese on it: To help the cheese melt evenly, place the shredded cheese right on top of the sauce.
- Put the toppings in order: Arrange vegetables and meats in layers to create bits that are well-balanced.
- Add more cheese or herbs at the end: For a final touch, scatter fresh basil or parmesan on top.
After baking, adding fresh toppings, such as tomatoes or rocket, keeps them flavourful and lively.
Step 5: Selecting the Best Pitza Cheese
A key ingredient in pitza is cheese. A delightfully golden brown crust, stretch, and creaminess are all provided by the correct cheese.
The Best Cheese Options for Pitza:
- The traditional option, mozzarella provides the ideal ratio of meltability to stretch.
- Parmesan: Contributes a rich, nutty flavour.
- Fontina: A delightfully melting, creamy cheese.
- Ricotta: Perfect for white pitzas, it’s fluffy and light.
- For robust, gourmet pitzas, gorgonzola is ideal.
Use fresh mozzarella sparingly to avoid soggy crusts because it has more moisture.
Step 6: Perfectly Baking Your Pitza
Ideal Temperature for Baking Pitza
Bake your pitza at a high temperature for optimal results:
- 250–260°C (450–500°F): Perfect for a well-cooked, crispy crust.
- 200°C, or 400°F: It works great for pitzas with a thick crust that require more baking time.
- Ovens for pizza (800–900°F): Professional pitzas are cooked at very high temperatures, but you can do it at home with a cast iron skillet or pizza stone.
Pitza Cooking on a Stone: A Guide
A pizza stone ensures a crispy crust by distributing heat evenly. Take these actions:
- Preheat the cold oven to 500°F and put the stone inside.
- Place the pitza dough on a floured peel after forming it.
- For 8 to 12 minutes, bake the pitza after sliding it onto the hot stone.
- To guarantee even cooking, turn halfway through.
Step 7: Serving and Savouring Pitza Made at Home
Before slicing, allow your pitza to cool slightly after it has baked to perfection. For crisp, uniform slices, use a pitza wheel or a sharp chef’s knife.
Innovative Ideas for Pitza Serving:
- Drizzle with infused olive oil: The flavour is enhanced by a little garlic or truffle oil.
- Add rocket, oregano or basil as a garnish for a change of pace.
- Serve with dipping sauces; hot honey, ranch, or marinara are excellent choices.
Final Thoughts
In addition to being satisfying, making pitza at home fosters creativity. Making your own pitza allows you to enjoy a meal that is healthier, tastier, and fresher than takeout—from making your own dough to trying out unusual toppings.
Prepare to prepare the most delicious pitza of your life by gathering your ingredients and preheating your oven. Homemade pitza will quickly become a favourite in your kitchen, regardless of your preference for a traditional margherita or a daring gourmet dish.
Stay up-to-date with the latest wellness and lifestyle trends at Livessmile.com.